Vegetable growing in winter
I grew up in a family that grew a few tomatoes and peppers during the summer. As an adult, I also began to discover the possibility of planting in spring and fall. Now I’m ready to become a four-season vegetable gardener. So, here is what you can do to become a gardener that utilizes all four seasons to put fresh and healthy food on your table while reducing your grocery bill.
There are several things to consider when planning for late fall and winter harvesting:
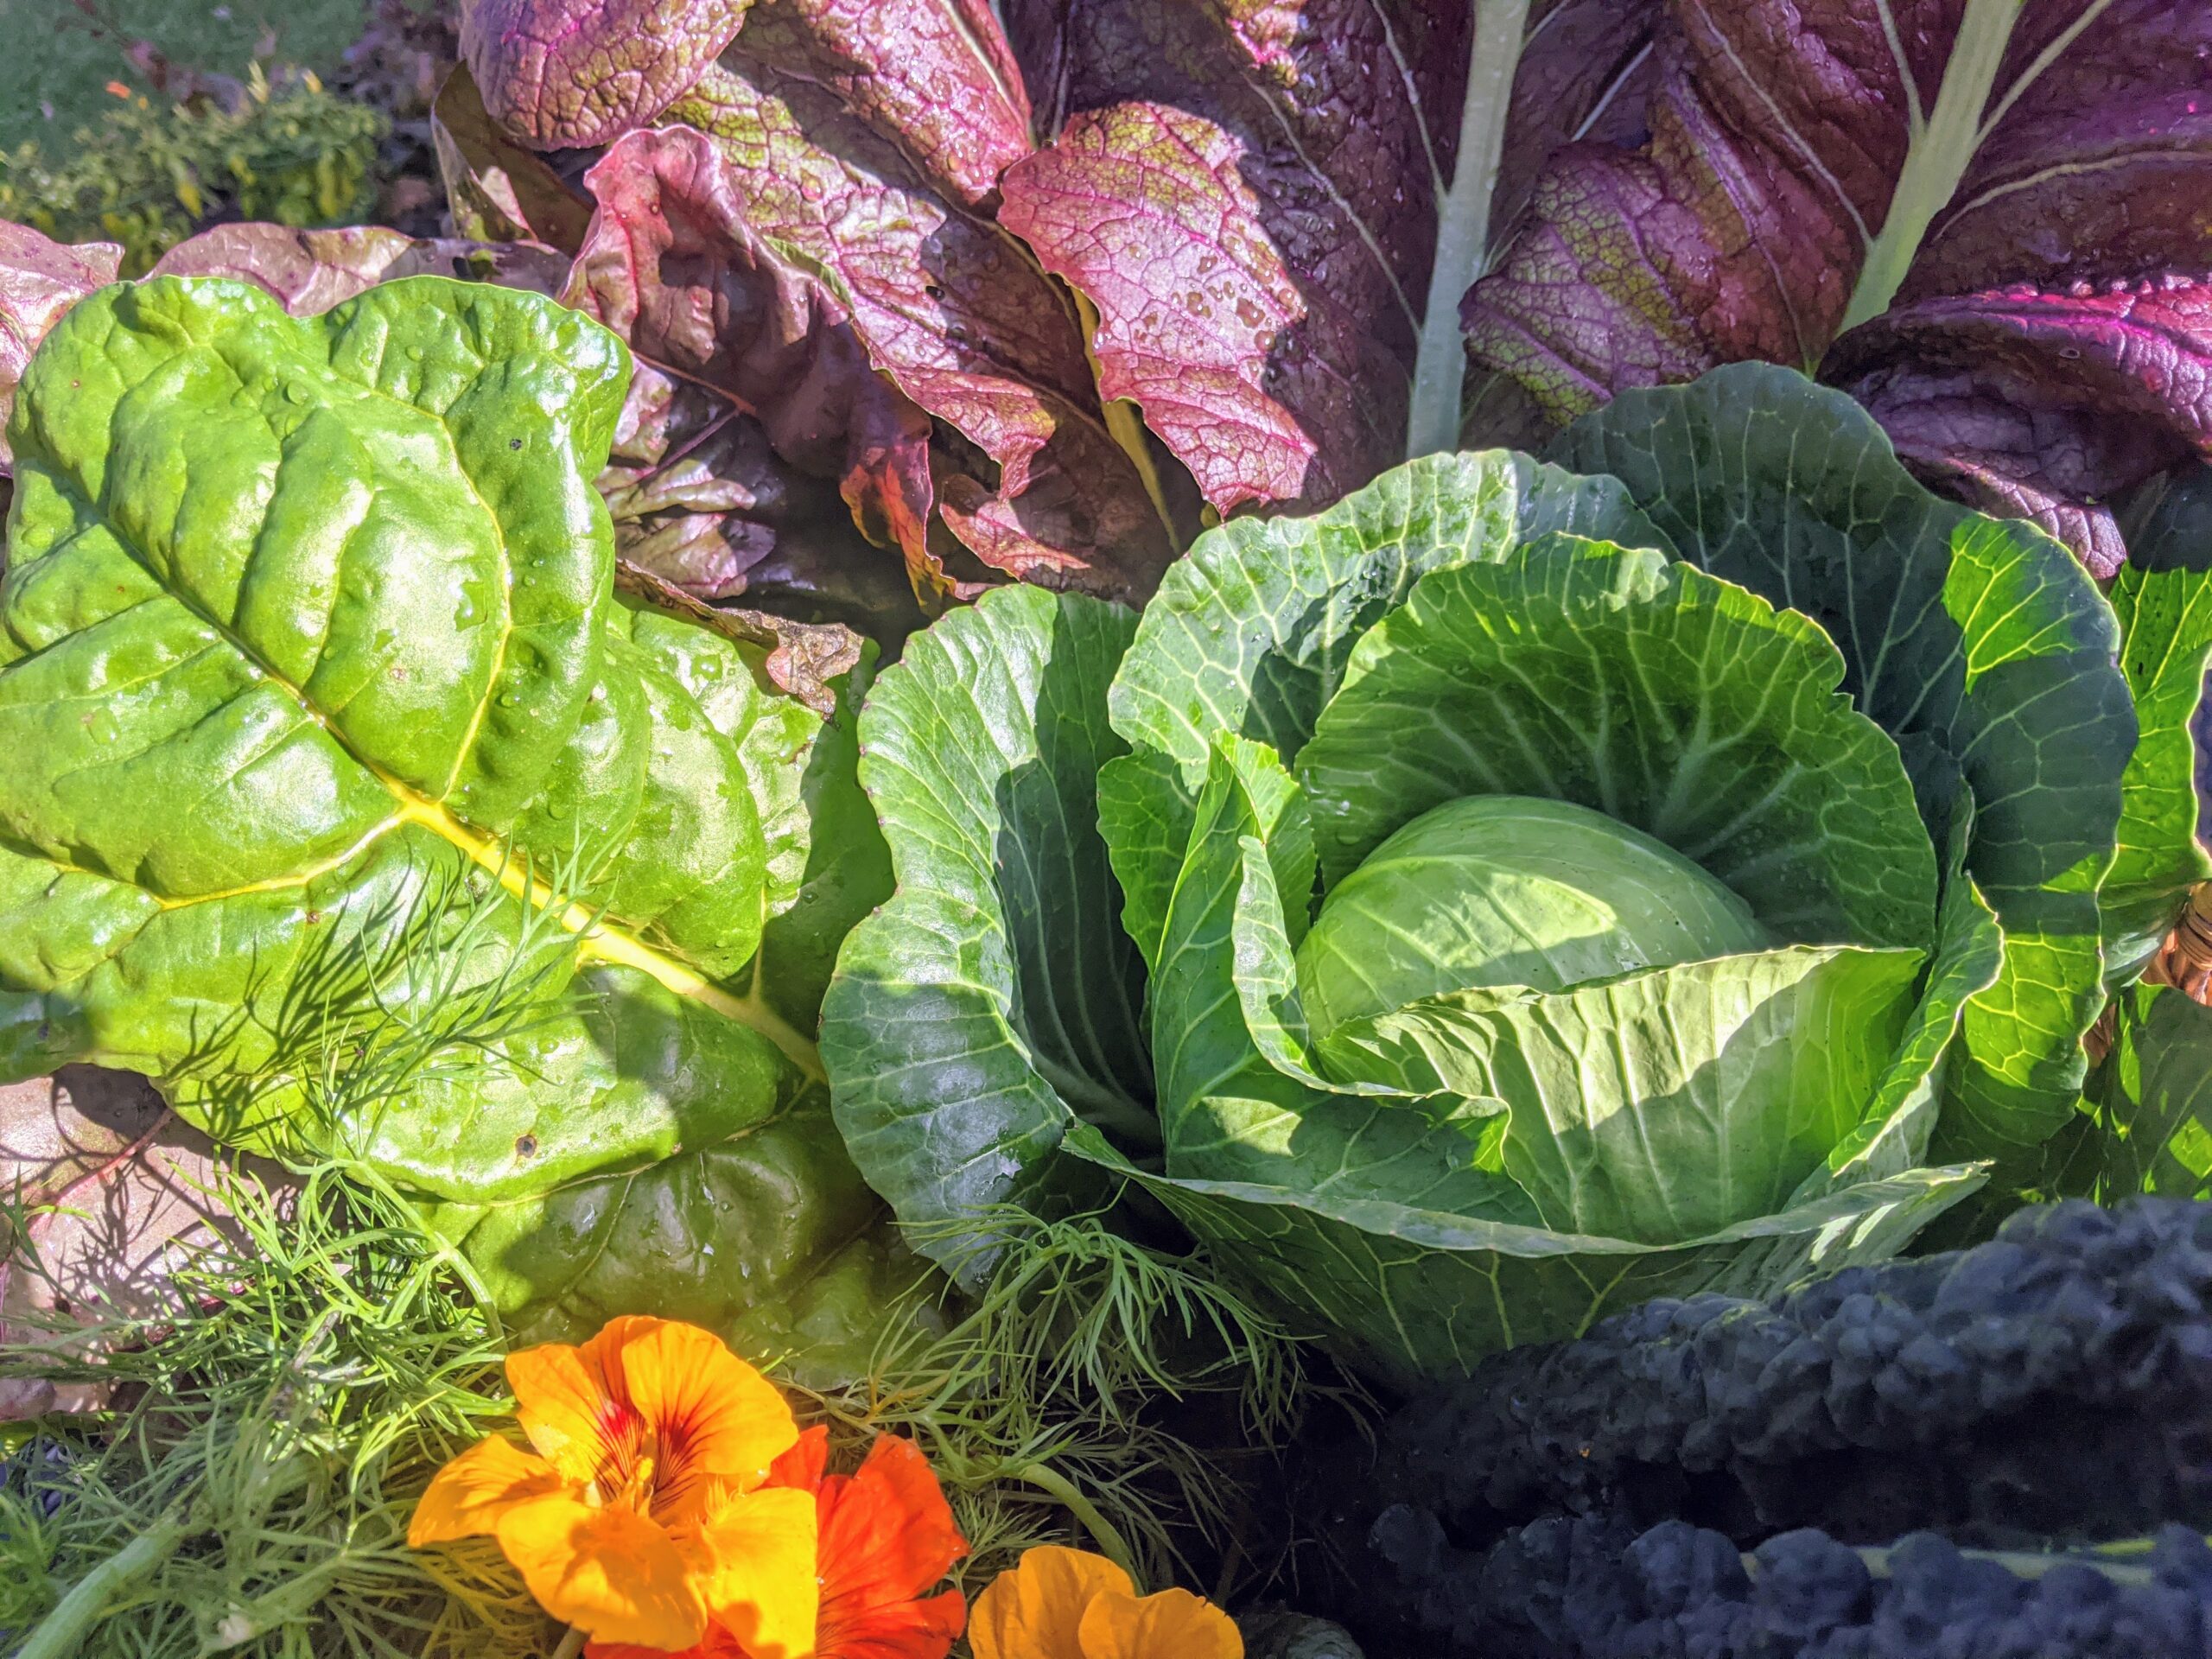
1. Decide what vegetables can grow in your zone. Then determine which ones you would like to grow over the winter. The degree of winter hardiness, or freezing-thawing capacity, is a key factor when deciding what to grow. Here is a possible list: kale, spinach, salad mix (mesclun, bok choi/pak choi), beets, radishes, turnips, scallions, and carrots.
2. Determine the last date when you have 10 hours of sunlight daily. Then, determine how many days a particular vegetable needs to be at 75% mature by the last ten hours of sunlight date. If you live in the vicinity of Tyler Arboretum, that date this year will be November 17.
I’ve used the Time and Date website to determine the 10 hours of sunlight according to zip code.
When winter comes, growth slows down for all crops. Crops like kale and spinach will continue to grow in winter when you get some sunlight. With limited growth, the plants hold maturity for harvest as needed throughout the winter.
3. Make timely planting in late summer or early fall a priority. Try planting on 7-10 day intervals. This allows for a more drawn-out harvest. In addition, it also reduces the risk of planting date variabilities in weather and the risk of crop failures over winter.
“Even though there may be snow on the ground, the temperature under the low tunnel is often just right for growing cool-season vegetables.”
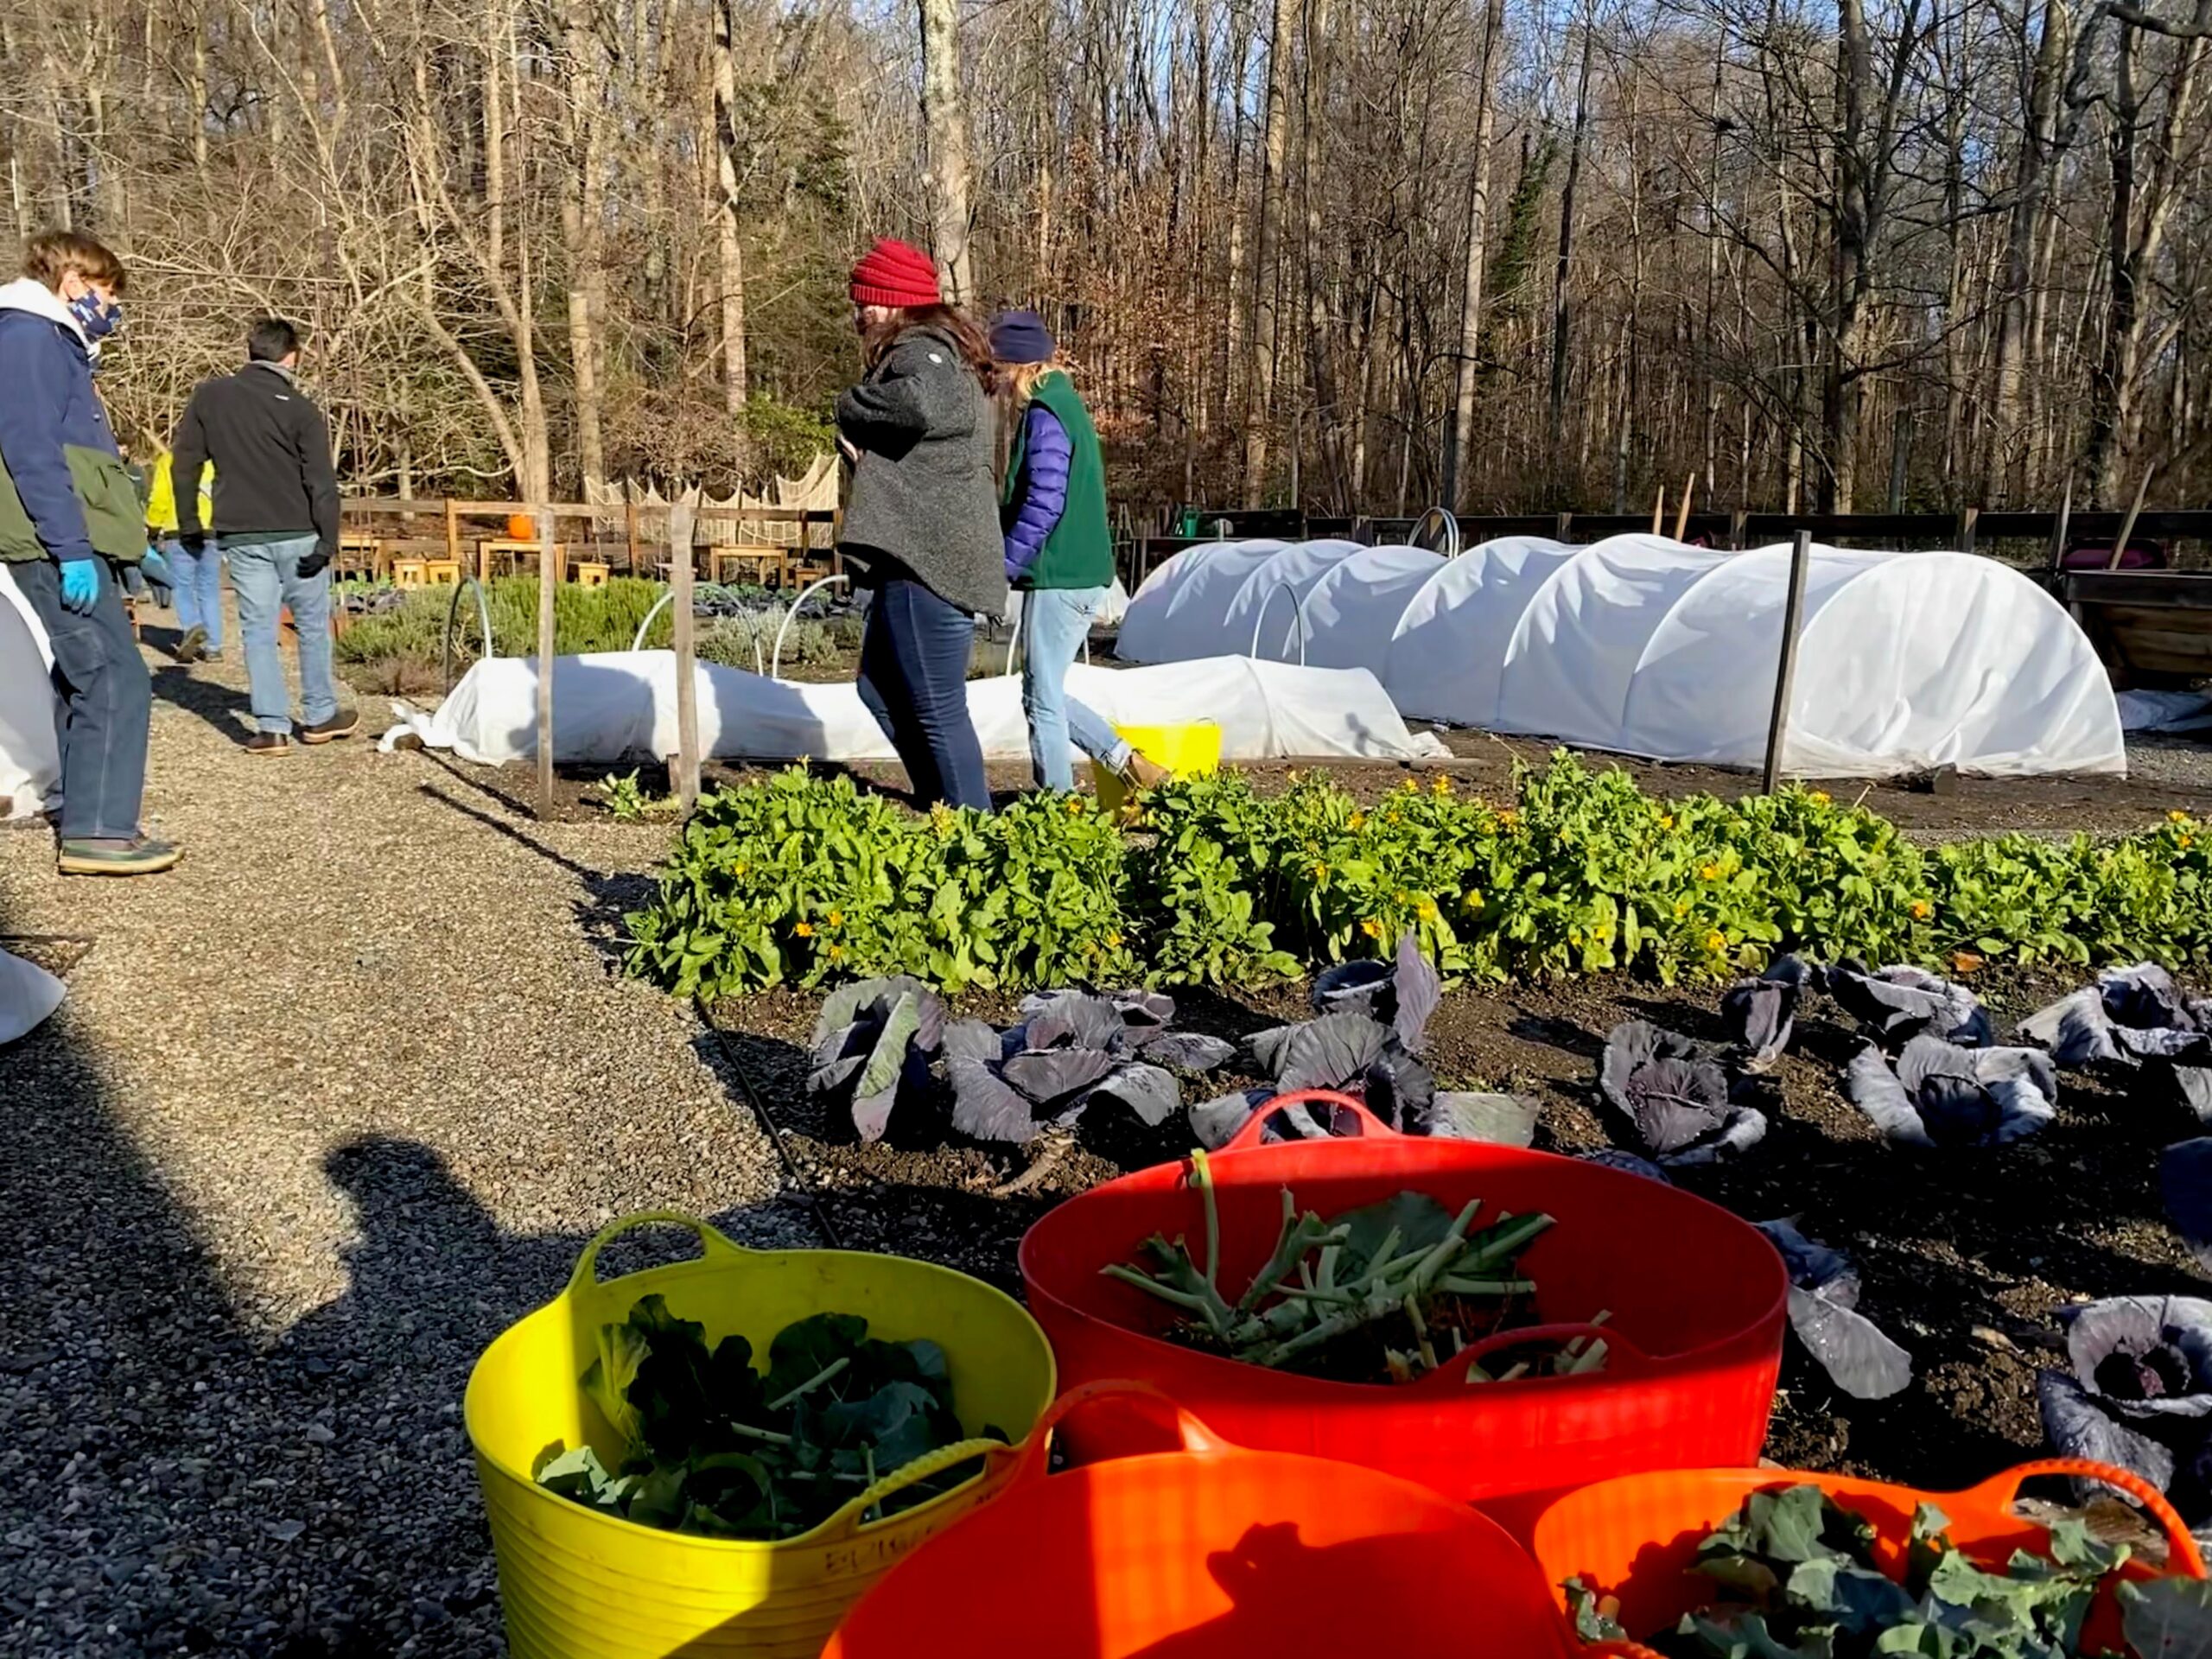
4. Determine whether you will put up a low tunnel or cold frame. Low tunnels keep the soil warm and provide a temperature microclimate for growing vegetables. Even though there may be snow on the ground, the temperature under the low tunnel is often just right for growing cool-season vegetables such as kale, beets, and spinach. Low tunnels can be used in the winter and early spring to protect crops from cold injury and wind. These structures also can be used during the summer with shade cloths to protect crops from insects and high temperatures. Low tunnels are made up of nine-gauge wire or piping (plastic or metal) covered with polyethylene plastic secured with bricks, sandbags, or clips. They are easy to assemble and can be taken apart and stored when you no longer need them.
On the coldest nights, you may want to put a floating row cover or lightweight sheet inside your plastic tunnel. Lay it right over the plants. It will buy them a few degrees of frost protection. An alternative would be to place a plastic milk jug or two-liter soda bottle filled with water in the tunnel. During the day, the water in the jugs will warm up. During the night, the heat from the bottles will then keep the temperature inside the tunnel warmer.

Vegetables grow snugly under the snow
On sunny days, the inside of the low tunnel can get quite warm. Ventilating is as simple as removing the bricks, sandbags, or clips and pulling the plastic up a bit to allow for airflow. On days when it is both sunny and warm and above 55 degrees Fahrenheit, pull the plastic off altogether and then put it back in the evening.
Cold frames are a natural way of trapping heat and preventing the soil from freezing. There are numerous material options for making a box of cold frames. They include bricks, polycarbonate, straw bales, wood, and more. Choosing the perfect place for the cold frame is crucial to enjoying its benefits. An ideal spot provides shelter from strong winds while offering full sunshine. Position the frame facing south to provide maximum benefits for the plants. If buying a cold frame, you may want to purchase one with an automatic vent opener. When making a DIY cold frame, you can prop the top open manually when it becomes too warm. A digital thermometer is a handy tool to have when ventilating the cold frame manually. Cold frames are not only good for winter gardening but can also be used to start seeds as much as six weeks earlier than you would if you put them directly in the ground without a cold frame. In addition, cold frames provide the right conditions of moisture and warmth that seeds need to germinate.
5. Make sure to minimize temperature fluctuations when it comes to winter production. Ventilation is crucial. It may be cold, but on a sunny day, temperatures can spike up to 85 degrees Fahrenheit and that temperature will cause stress on the plants. Therefore, you will want to minimize temperature fluctuation as much as possible.
6. Maintaining adequate airflow is important to minimize diseases and insects that can build up when the temperature gets too high. Scouting and removing any diseased plants are essential. Wider row spacing can help, too.
November vegetable harvest
7. Soil moisture must be brought up to the right level before winter. You want the plants to have enough moisture between planting and reaching 75% maturity by the last day of 10 hours of sunlight per day. The good news is most crops don’t use much water over winter. Be careful; it is easy to water too much or too little. Using a water moisture meter can prove helpful. When watering, do not leave any water on leaves when the temperature is falling toward freezing. You may want to only water on sunny days. With crops like lettuce, only water the area between the rows to avoid getting water on the leaves, adding to disease and quality problems.
So, are you up for trying either a low tunnel or a cold frame? If so, don’t forget you will need to plant your seeds in late summer and early fall – and that will be here before we know it.
I don’t know about you, but I can’t wait to see cooler temperatures and enjoy eating from my winter garden. If that’s you too, I wish you bon appetite!